If you use a Chromecast in your home, it is possible that this device no longer works properly. Changing your Chromecast WiFi can then be a solution. In this article we explain how to change WiFi on Chromecast. But it is also good to know how this works when you are using a completely new WiFi network in your home.
How to change WiFi on chromecast
Your Chromecast can remember one Wi-Fi network at a time. So if you take it to a friend’s house to watch a series or play a game, you need to change the Wi-Fi network. In this article, we’ll show you how. It only takes a few steps.
Before we start, it’s good to know that your Chromecast and your phone or tablet must be on the same Wi-Fi network. You’ll also need the Google Home app, which you’ll find in the App Store and Google Play. Are you ready? Then we can finally start.
- Open the Google Home app on your smartphone or tablet.
- Turn on the TV and switch to the Chromecast channel. Can’t find that channel? The connection may not be in the HDMI port properly. Check the connection or plug in the Chromecast properly. If there is no light on the Chromecast, it is possible that the plug is not in (properly).
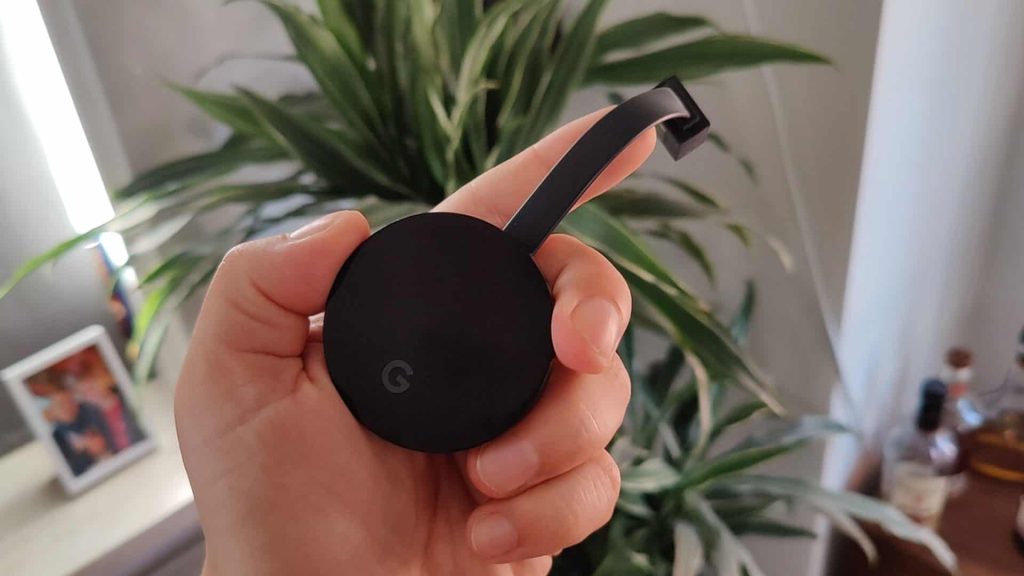
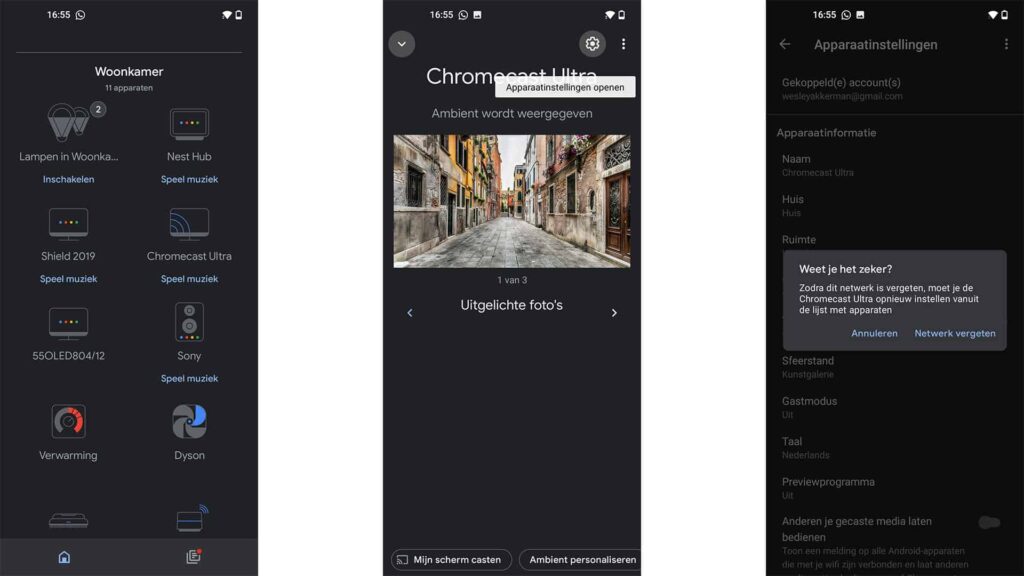
- Tap on the Chromecast within Google Home. The device has a unique name, which you chose during the installation. Perhaps it’s a name along the lines of Living Room or Bedroom. Those are default options that Google often suggests. In our screenshots, we use the name Chromecast Ultra.
- Now tap the cogwheel icon in the top right-hand corner. This will take you to the settings.
- Select the WiFi option or press the ‘Forgotten’ text.
- When you do, a pop-up will appear asking if you are sure.
- Confirm. Now you can reset your Chromecast and connect it to your Wi-Fi network.
Changing the Chromecast WiFi: what if it doesn’t work?
It can happen that changing the Chromecast WiFi does not work if you cannot get into the network that the Chromecast was previously connected to. For example, because you have bought a second-hand one. What can you do in this case?
You can then fall back on the manual reset options. The Chromecast has a physical reset button that you can use. The button is located next to the USB connection. The size of the button varies per model. On the Chromecast Ultra, it is a small button that is neatly concealed.
- Press the reset button and hold it for a while. When you keep the button pressed, the LED will flash orange. Only when that light turns white can you stop pressing it.
- Now disconnect the Chromecast from the power supply. You can either pull the USB cable out of the Chromecast or simply unplug it from the power socket.
- Now wait a few seconds (thirty seconds is usually fine) to make sure that the device is completely back to factory settings.
- After resetting, you should add the device as a new device in your network.
Changing the WiFi Chromecast: things to remember
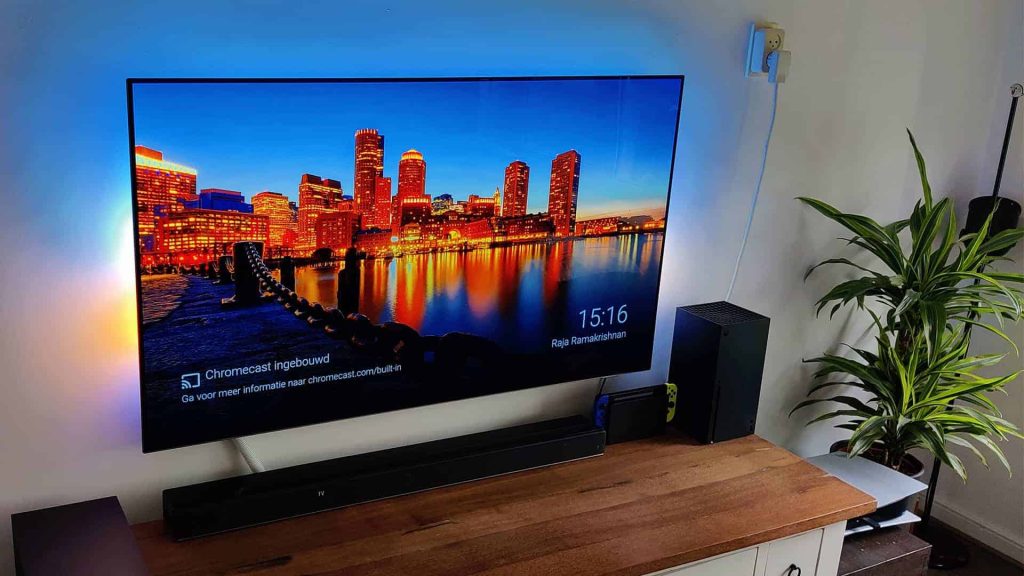
Why is it important to turn on the TV for this process, when you actually control everything on your phone? Well, this way you can immediately see if your Chromecast has an internet connection or not. If there is no internet, you won’t see a clock with the current time on it, for example.
If it happens that you do not see a WiFi option in the settings of the Chromecast that you want to change, then it does not have internet at that moment. In that case, you need to return to the factory settings by performing the manual reset.
You can also find out right away if your Chromecast has a Wi-Fi connection or not by checking whether it appears in your Cast device list. If you’re using a music or video streaming service and can’t find your Chromecast in the list, that means it’s offline.