Downloading Chrome OS is easy, but installing it requires some work. Basically, you can turn any laptop or computer into a Chrome OS device, provided it has good specs, of course. Really old devices are obviously out of the question.
Google doesn’t offer an official method for installing and trying out Chrome OS (except, of course, by buying a Chromebook, for example), but developers have discovered a trick that lets you try out the operating system on your own hardware.
Installing Chrome OS
Before we can start installing the Chrome OS, let’s look at the requirements. What we want to do is get a USB stick ready, on which you will find the Chromium OS disk image. This is a disk copy that you will eventually use to run the system.
This is what you need:
- A working computer with at least one USB connection
- A USB stick with at least 4 GB of storage space
- A programme for unpacking a zip file, such as 7-Zip for Windows, Keka for macOS or p7zip for Linux
- A programme called Etcher, which you can download for Windows, macOS and Linux
The USB stick is fully used in this process. This means that it will be completely emptied before we can use it. Please make sure that you use a USB stick that does not have any valuable files on it. It does not matter whether you are using Windows, macOS or Linux.
The reason why it’s important to use a USB stick in this case is because it’s a safe and effective way of working. You can run Chrome OS whenever you want, on suitable hardware – without having to uninstall Windows or macOS first.

Downloading Chrome OS
Before we can use Chrome OS on a device, we need to download a recent version of the operating system. Google does not provide an official version of the base code, so we have to get it from somewhere else. A good alternative source is Arnold The Bat.
Chrome OS is based on Chromium OS. This is an open-source project set up with the aim of building an operating system that is fast, simple and secure. You can get to Chrome OS via the Chromium OS. You can get the latest version of the system from the website mentioned above.
After downloading, unzip the file using the programs mentioned above. Save the files in a folder that you can easily reach, for example a folder on the desktop. Take the USB stick so that we can format it.
FAT32
Formatting is important, as we are using the stick for one purpose. The idea is to format it to FAT32. How you do this differs per operating system. However, Windows users proceed as follows:
- Insert the USB stick into the USB port
- Open the file manager
- Go to My PC or Computer
- Right click on the USB stick
- Select Format
- Click on the current NTFS entry and change it to FAT32
- Press Start and then OK
- Name the USB stick Chrome, just for convenience’ sake
Chromium OS
Now that we have made all the preparations, it is important to install and open Etcher. After opening it, proceed as follows:
- Select ‘Select Image’
- Go to the location of the disk copy of Chromium OS
- Add that disk copy to Etcher
- Select ‘Select Drive’
- Now select the USB stick you just formatted
- Now click on ‘Flash’, so that the copy is installed on the USB stick
Before you can run Chrome OS from a USB stick, you’ll need to wait for Etcher to complete the process. That means you have to wait until it says on the screen that the program is 100% finished. After that, the stick is available as a USB drive with Chrome OS on board.
Booting up Chrome OS
If all went well and Chrome OS is on the USB stick, you will need to restart your computer. In order to use Chrome OS, you need to give the computer the command to boot up with Chrome as the operating system.
Windows users can control this in their BIOS settings. The required Boot Options menu can be found by holding down the Esc, F2, F10 or F12 key during booting. Mac users should briefly press the Option key during boot up.
In both cases, you will arrive at the intended menu, perhaps after waiting a moment. The idea is to select an operating system to be loaded from an external drive. In this case, you should not choose the option that relates to the internal hard disk.
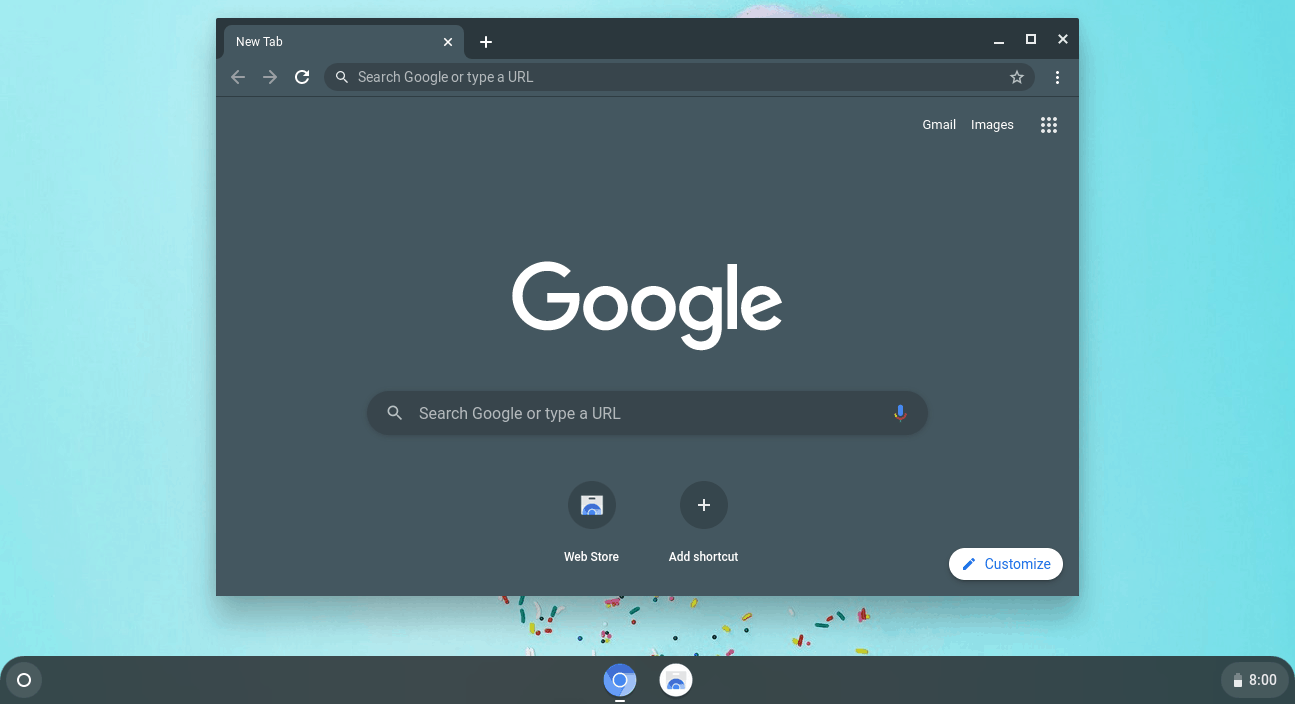
So choose an external source. In no time, Chrome OS will appear on your screen and you’ll be up and running. Again, by working this way, you don’t have to uninstall any other system, so you can use both operating systems side-by-side.
With the USB stick in your arsenal, you can now turn any hardware running Windows, Linux or macOS into a Chrome OS machine. After the initial installation, you still need to configure Chrome OS. You do this by logging in once with your own (or a new) Google account.